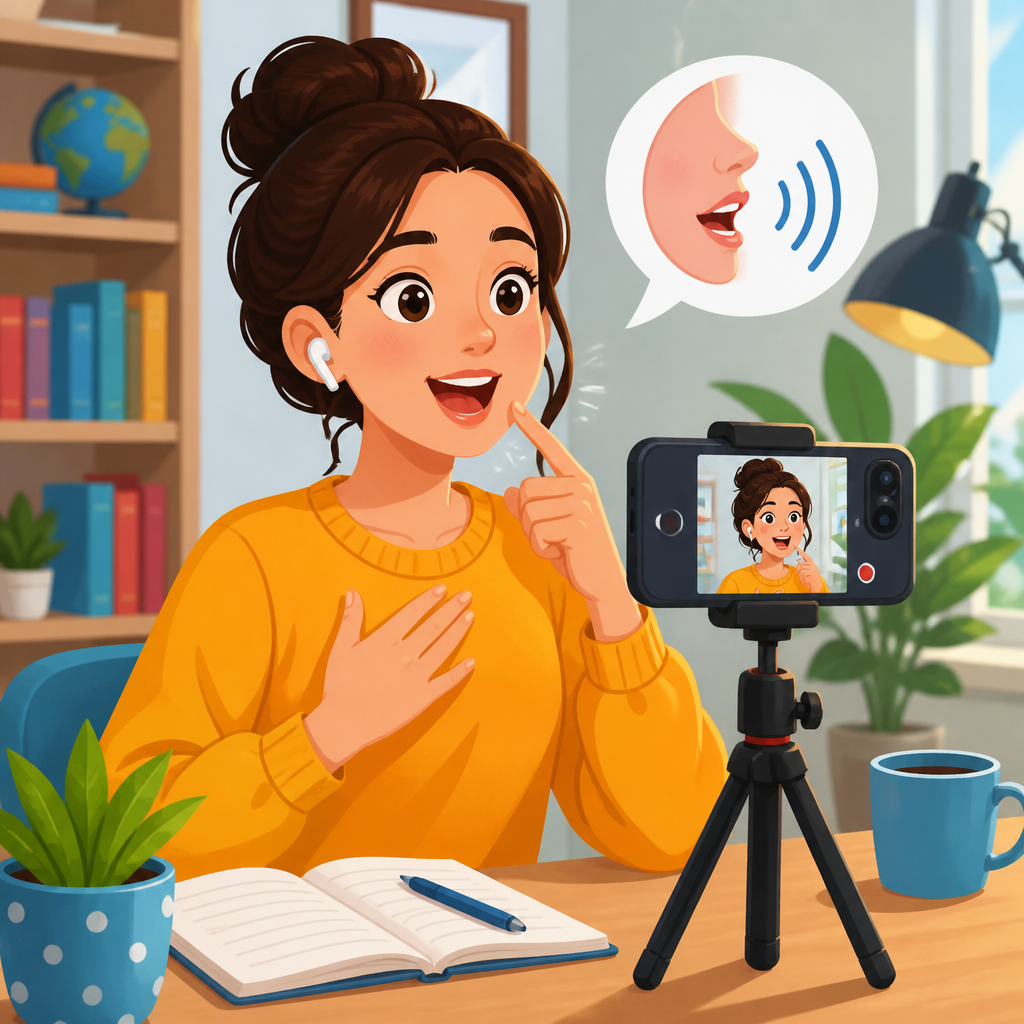
Recording yourself is one of the fastest, most reliable ways to improve pronunciation because it turns speaking from a vague feeling into something you can hear, compare, and fix. For English learners, pronunciation practice often feels frustrating: you know the word, you understand the grammar, but your mouth produces a sound that does not match what listeners expect. When I have coached learners through speaking drills, the biggest breakthrough usually came not from learning more rules, but from listening back to their own voice with a clear method. A recording captures stress, rhythm, vowel quality, linking, and hesitation in a way that a mirror or silent reading never can.
Pronunciation means more than saying individual sounds correctly. It includes consonants and vowels, word stress, sentence stress, connected speech, intonation, pacing, and pausing. Accent is part of identity; pronunciation training is not about erasing identity or sounding like a different person. The practical goal is intelligibility: being understood easily in real conversations, meetings, classes, interviews, and daily interactions. That distinction matters because many learners waste time chasing a “perfect accent” instead of focusing on the features that most affect communication.
This article is a hub for pronunciation practice within ESL speaking and conversation skills. It explains how to record yourself, what to listen for, how to compare your speech with strong models, which tools help, and how to build a repeatable routine. If you have ever asked, “Why do I sound different from native speakers?” or “How can I hear my mistakes?” this method answers both questions directly. Recording gives you evidence. Once you have evidence, improvement becomes measurable instead of emotional.
Why recording works for pronunciation practice
Most learners cannot fully monitor pronunciation while speaking in real time. Your brain is busy choosing words, building sentences, recalling grammar, and managing nerves. A recording removes that cognitive overload. You speak once, then listen with full attention afterward. This delayed review is powerful because it reveals patterns. You may notice that final consonants disappear, long vowels become short, or stress falls on the wrong syllable again and again.
Recording also creates a feedback loop. In speech training, feedback must be specific to be useful. “Sound more natural” is too vague. “Your stress in photographer should be on the second syllable, not the first” is actionable. When learners record the same sentence over several days, they can hear whether the correction actually sticks. That is why speech-language professionals, accent coaches, and teacher trainers routinely use audio and video samples. The method is simple, but it works because it makes progress audible.
Another advantage is emotional distance. In conversation, a misunderstood word can feel embarrassing. In a private recording, mistakes become data. I have seen shy learners improve faster once they stopped treating pronunciation errors as personal failures and started treating them as repeatable sound habits. Recording supports that shift because it gives you a neutral sample to analyze.
What you need before you start recording
You do not need a studio microphone to improve pronunciation. A smartphone, laptop, or tablet is enough if the recording is clear. Voice Memos on iPhone, the default Recorder app on many Android devices, Audacity on desktop, and browser tools like Vocaroo all work. If you want waveform editing and easy comparison between takes, Audacity is especially useful. If you want speech analysis, tools such as Praat can display pitch and timing, though most learners can make major progress without advanced acoustic software.
Your model audio matters as much as your recording device. Use a reliable source with clear speech: dictionary audio from Cambridge or Merriam-Webster, listening passages from BBC Learning English, videos with accurate subtitles, or course materials from a qualified ESL program. Avoid random clips with poor sound or inconsistent captions. If your model is unclear, your imitation will be unclear too.
Prepare a short script. Start with one sentence, then a short paragraph, then spontaneous speech. For example, if you struggle with word stress, choose words like development, comfortable, available, and opportunity inside complete sentences. If your challenge is /r/ and /l/, build a script around minimal pairs and natural phrases such as really long road or correct the result later. Short, targeted material produces faster results than recording five minutes of unfocused talking.
How to record yourself step by step
Use a simple process. First, choose one pronunciation target. Second, find a model. Third, listen several times before speaking. Fourth, record your version. Fifth, compare the two. Sixth, record again after making one or two corrections. Learners often fail because they try to fix every issue at once. Narrow focus produces cleaner improvement.
Stand or sit upright and keep the microphone at a consistent distance. Record in a quiet room with soft furnishings if possible; hard surfaces create echo. Say the date, the practice target, and the sentence at the start of the file. That tiny habit helps you organize progress later. Then read the sentence naturally, not word by word. After one careful read, do two more takes: one slower than normal and one at natural speed. The slower take helps you shape sounds deliberately; the natural-speed take shows whether the pattern survives in connected speech.
After recording, do not judge the entire performance immediately. Instead, isolate one sentence and compare it line by line with the model. Pause after each phrase. Ask: Did I stress the right syllable? Did my voice rise or fall in the same place? Did I link words smoothly? Did I pronounce the final sound? This kind of guided comparison turns listening into diagnosis.
| Practice stage | What to do | What to listen for | Example |
|---|---|---|---|
| Model listening | Play the target sentence three times | Stress, rhythm, key vowel sounds | “I need to update the report today.” |
| First recording | Read once carefully and once naturally | Missed sounds, unnatural pauses | Dropping the /t/ in update |
| Comparison | Alternate model and your audio | Differences in pitch, timing, linking | “need to” sounds too separated |
| Focused correction | Redo only the weak phrase five times | Consistency across repetitions | “need to update” becomes smoother |
| Final recording | Say the full sentence again | Carryover into normal speed | Natural stress on report and today |
What to listen for in your own speech
Many learners listen only for obvious sound errors, but pronunciation has layers. Start with individual sounds that change meaning, such as ship versus sheep, rice versus lice, or fan versus van. Then move to word stress. English stress is contrastive and often unpredictable, so learners need repeated exposure. Saying inFORmation instead of inforMAtion can reduce clarity even if every consonant is technically correct.
Next, listen to sentence stress and rhythm. English is stress-timed, which means important words usually carry more emphasis while function words are reduced. A learner who pronounces every word with equal weight often sounds choppy. Compare “I WANT to GO” with “I want to go.” The second version in connected speech usually reduces want to toward wanna in informal conversation, though learners should understand register and avoid overusing casual reductions in formal settings.
Also check linking, reductions, and final consonants. These features strongly affect naturalness and intelligibility. For example, “next day” may sound like nex day if the /t/ disappears completely. “Worked” needs its final consonant cluster to mark past tense clearly. Intonation matters too. A flat delivery can make speech sound uncertain or disengaged, while the wrong rise or fall can change meaning, especially in questions, lists, and contrastive statements.
How to compare your recording with a native or expert model
The most effective comparison method is shadowing plus replay. Listen to a short model phrase, then repeat it immediately, trying to match the speaker’s stress, timing, and melody. Record both the shadowed version and a delayed version where you wait two seconds before speaking. The immediate repetition improves mimicry; the delayed repetition tests whether you internalized the pattern rather than merely echoed it.
Waveform and spectrogram tools can help advanced learners, but plain listening is enough if you compare strategically. Focus on three questions: Where is the main stress? Which sounds were reduced? Where did the speaker pause or link words? For example, in “Could you send it over?” many models reduce could you toward /kʊdʒə/. A learner who says every word separately may still be understood, but the phrase will sound less natural and may be harder to process in fast conversation.
Use dictionaries for single words and high-quality audio for whole sentences. The International Phonetic Alphabet can be useful if you know it, especially for distinguishing vowel pairs such as /iː/ and /ɪ/ or /æ/ and /ʌ/. Still, do not let transcription replace listening. Pronunciation is physical and auditory. Your ears and mouth need repetition more than your eyes need symbols.
Common pronunciation problems recordings reveal
Self-recording exposes recurring issues that learners often miss in live conversation. One common problem is vowel substitution. Speakers of many language backgrounds merge English vowels that native listeners treat as separate categories. That is why live and leave, full and fool, or bad and bed may blur together. Another frequent issue is consonant omission, especially at word endings. Learners may say col instead of cold or pas instead of past, which affects meaning and grammar.
Recordings also reveal misplaced stress in longer words, monotone intonation, and intrusive pauses caused by reading word by word. I often hear learners pronounce every article and preposition too strongly, which makes speech sound robotic. Others overcorrect after learning a rule and start producing exaggerated sounds that are technically present but unnatural in rhythm. The recording helps balance accuracy and fluency because you can hear whether the correction fits real speech.
Video adds another useful layer. If a sound requires different lip rounding or tongue placement, seeing yourself can clarify why the audio still sounds off. This is especially helpful for /w/, /v/, /θ/, and /ð/. However, audio alone is still sufficient for most daily pronunciation practice, and it is usually easier to repeat consistently.
How to build a weekly routine that creates progress
A strong pronunciation routine is short, targeted, and consistent. Ten to fifteen minutes a day beats one long session each weekend. On Monday, record a baseline sample using a short paragraph and one minute of free speaking. On Tuesday and Wednesday, work on one sound or stress pattern. On Thursday, practice linking and sentence rhythm with short dialogues. On Friday, rerecord Monday’s material and compare. On the weekend, do one spontaneous speaking task such as summarizing an article or telling a story from memory.
Keep a pronunciation log. Note the date, target feature, model source, words or phrases practiced, and what improved. If you use the same paragraph every two weeks, you will hear change over time in a way that feels motivating and concrete. Many learners think they are not improving because day-to-day changes are small. A log plus archived recordings proves otherwise.
Finally, connect pronunciation work to real conversation. Practice the phrases you actually need for meetings, customer service, travel, class discussion, or social talk. Improvement accelerates when drills transfer into meaningful speaking. Start recording today, keep the process simple, and review your voice with curiosity instead of criticism. That habit will improve clarity, confidence, and listening awareness at the same time. Pronunciation gets better when you can hear what you are doing, name the problem, and repeat the correction until it becomes automatic.
Frequently Asked Questions
Why is recording yourself such an effective way to improve pronunciation?
Recording yourself works because it gives you objective feedback. When you are speaking in real time, your attention is usually split between vocabulary, grammar, fluency, and confidence, so it is hard to notice exactly how a word sounded. A recording slows the process down. It lets you hear your speech the way other people hear it, which is often very different from how it sounds inside your own head. That shift is powerful because it turns pronunciation from a vague impression into something concrete you can analyze.
It is also effective because it creates a simple comparison loop. You can listen to a native or highly accurate model, record yourself saying the same phrase, and compare the two versions closely. That makes it easier to notice specific differences in vowel length, stress, rhythm, consonant clarity, and intonation. Instead of thinking, “My pronunciation is bad,” you can identify a real issue such as, “My stress is on the wrong syllable,” or “I am dropping the final sound.” Once the problem is clear, improvement becomes much faster.
Another reason recording helps so much is that it builds self-awareness over time. If you record regularly, you start hearing recurring patterns in your own speech. Maybe you consistently confuse similar vowels, soften endings, or use flat intonation in questions. Those patterns are difficult to detect during normal conversation, but they become obvious across multiple recordings. That awareness allows you to focus your practice where it matters most instead of trying to fix everything at once.
What should I record if I want to improve my English pronunciation quickly?
If your goal is faster improvement, start with short, high-value material rather than long, complicated speaking tasks. The best recordings usually include individual words you often use, minimal pairs that contrast similar sounds, short sentences, and short paragraphs read aloud from clear model audio. This gives you enough material to practice important pronunciation features without overwhelming yourself. Recording a two-minute conversation may feel productive, but it is often harder to analyze than ten carefully chosen sentences.
A smart progression is to begin with single words and short phrases, then move to sentence-level practice, and finally record spontaneous speech. Words help you isolate difficult sounds. Sentences help you practice stress, linking, and rhythm. Spontaneous speaking reveals whether the improvements carry over into real communication. For example, you might first practice words like “ship” and “sheep,” then record a sentence using both, and later describe a picture or answer a simple question using those sounds naturally.
It also helps to record material connected to your real life. Choose phrases you use at work, in class, in meetings, or in daily conversation. If you often introduce yourself, explain your job, order food, or participate in interviews, record those situations. Pronunciation improves faster when the practice is immediately useful, because you repeat the same language often enough for new speaking habits to stick.
How do I compare my recording to a native speaker or model correctly?
The most effective comparison method is to keep it narrow and deliberate. Do not just listen to a native model once and then play your own recording casually. Instead, choose a very short piece of audio, often one sentence or even one phrase, and compare it several times. Listen first for the overall rhythm and melody, then listen again for word stress, vowel quality, consonants, and endings. This kind of focused listening helps you hear details that are easy to miss when you compare longer passages.
A useful technique is to ask yourself a few specific questions each time. Is the stressed syllable in the same place? Are the vowels equally long or short? Did I pronounce the final consonants clearly? Does my voice rise and fall in a similar way? Am I linking words smoothly or pausing too much? These targeted questions give structure to your review and prevent the common mistake of judging your pronunciation only by “feel.”
You can also improve accuracy by using shadowing and re-recording. First, listen to the model and repeat immediately after it. Then record yourself. After that, compare your recording to the original and identify one or two differences, not ten. Re-record the same line with those specific corrections in mind. This cycle of listen, record, compare, adjust, and repeat is where real progress happens. The goal is not to sound identical to one speaker, but to develop clearer, more natural, and more understandable pronunciation.
How often should I record myself, and how long should each practice session be?
Consistency matters more than long sessions. For most learners, recording yourself for ten to fifteen minutes several times a week is more effective than doing a single long session once in a while. Pronunciation is a motor skill as much as a listening skill, which means your mouth, tongue, and timing improve through repeated, focused practice. Short sessions are easier to maintain, and they keep your attention sharp enough to notice fine differences in sound.
A practical routine is to divide your session into three parts. Spend a few minutes listening to a model and identifying a target sound or pattern. Spend the next several minutes recording and re-recording short words or sentences. Use the last few minutes to review what changed and note one clear takeaway. For example, you might realize that your final “t” sound becomes much clearer when you slow down slightly, or that your sentence stress improves when you mark the stressed word before speaking.
It is also important to track progress over time rather than judging yourself from one recording. Save samples from each week and compare them after a month. Improvement in pronunciation is often gradual, and daily changes may seem small, but longer comparisons usually reveal meaningful gains in clarity, control, and confidence. Regular recording builds both skill and evidence that your practice is working, which makes it easier to stay motivated.
What are the most common mistakes learners make when using recordings for pronunciation practice?
One of the biggest mistakes is recording without a clear target. If you simply talk into your phone and listen back without knowing what you are listening for, progress will be slow. Good pronunciation practice needs focus. You should decide whether you are working on a particular vowel, word stress, sentence rhythm, final consonants, or intonation. A narrow target makes the feedback useful and actionable.
Another common mistake is trying to correct too many things at once. Learners often hear several problems in a recording and feel discouraged, then either give up or attempt to fix everything in one session. That usually leads to frustration. It is much more effective to choose one or two priorities, improve those, and then move on. Pronunciation develops in layers, and small repeated corrections produce better long-term results than scattered effort.
Many learners also rely only on replaying their own voice without using a strong model for comparison. Listening to yourself is valuable, but progress speeds up when you compare your speech to accurate, natural English from a trusted source such as a dictionary, textbook audio, teacher recording, or high-quality video. Finally, some people stop recording because they dislike the sound of their own voice. That reaction is normal, but it should not stop the practice. The point is not to enjoy hearing yourself at first. The point is to train your ear, notice patterns, and become easier to understand. If you stay consistent and specific, recordings become one of the fastest tools for measurable pronunciation improvement.